A complete guide to installing Proxmox VE on EQ12
2023-04-20 09:41:16
Proxmox VE( Proxmox Virtual Environment) is a platform for Virtue Machine and containers. It is an open-resource server based on Debian Linux. For maximum flexibility, it implements two virtualization technologies - Kernel-based Virtual Machine (KVM) and Linux Containers (LXC).
The main design objective is to make management as easy as possible. Proxmox VE can be used on a single node or to assemble a set of clustered nodes. You can do all management tasks on web-based management interface, and even novices can install and configure Proxmox VE in a few minutes.
You can use it to install any system such as Windows, Linux(CentOS, Ubuntu, etc.), soft routing(LEDE, OpenWRT, ROS, Gocloud, iKuai,etc.). It is a free open-source serverthat requires low hardware configurations and runs stably.
Tools:
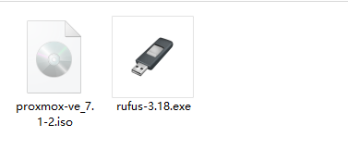
1. Prepare a USB flash drive with capacity of more than 8GB. Please backup data before use, as writing the image will empty the USB flash drive.
2. PVE ISO file
Cloud download:
https://drive.google.com/drive/folders/1hIA12coWAC4X4qgeex-kTHqHQoXLLHUU
Official download:
https://www.proxmox.com/en/downloads
Tips: Only the Pve7.1 version can be installed. The latest version cannot be installed at the moment due to kernel’s incompatibility.
3. USB Flash Drive Writing Tools: Rufus
Download: http://rufus.ie/downloads
Steps:
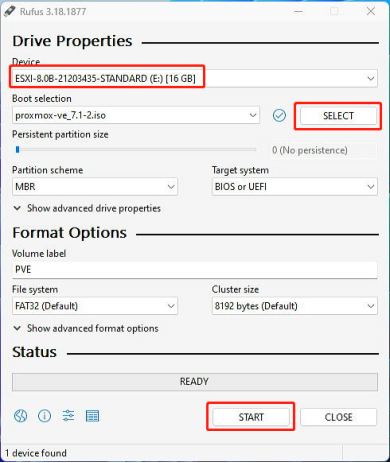
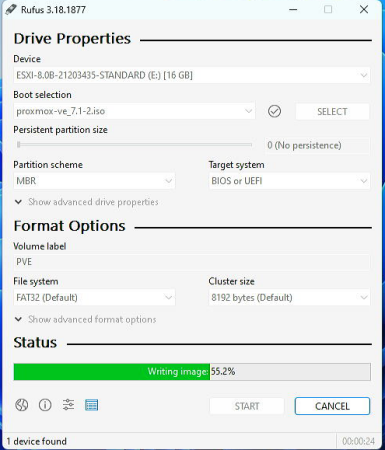
1.Download the ISO file and use Rufus to write it.
2. If prompted, choose “write in DD Image mode”.
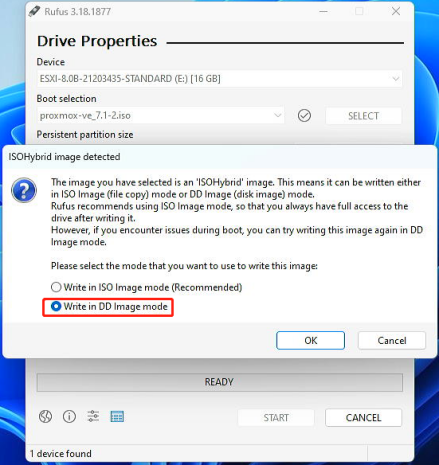
3. Click “OK”.
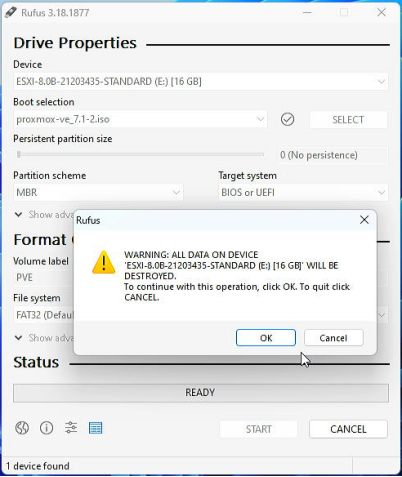
4. Wait for the writing process to complete.
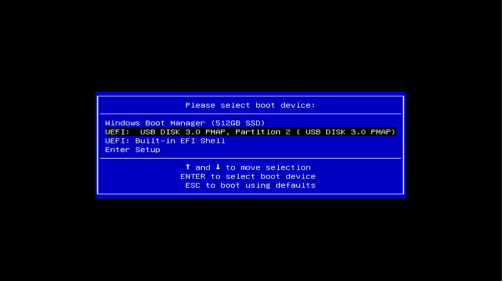
5. Unplug the USB disk when finished and plug it into the USB port of EQ12. Press the F7 key to select USB disk as boot device.
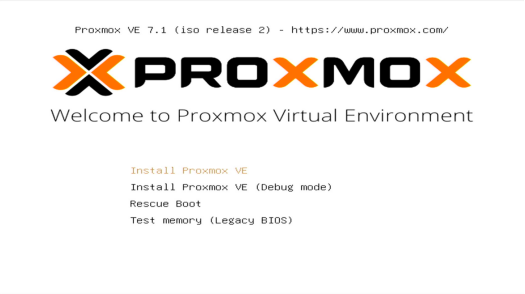
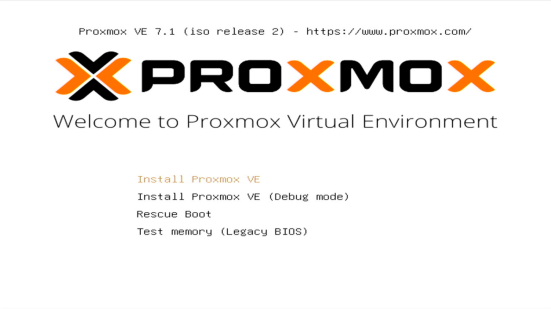
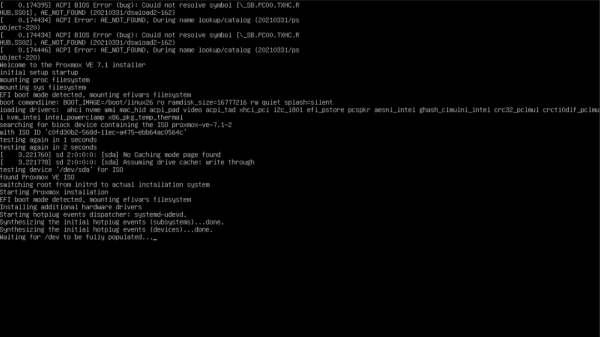
6. Choose “Install Proxmox VE” and press enter.
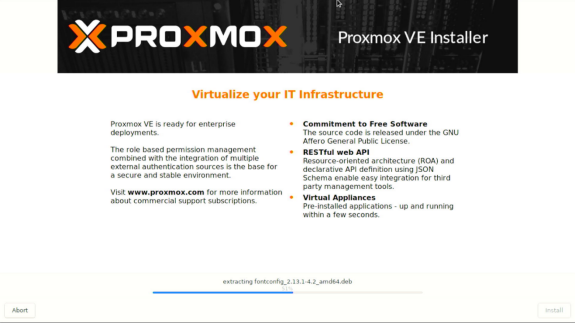
7. Wait for loading.
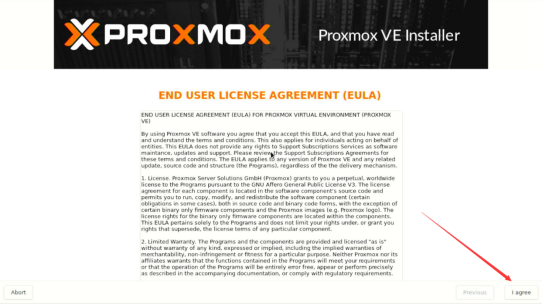
8. Click “I agree” to go to the next step.
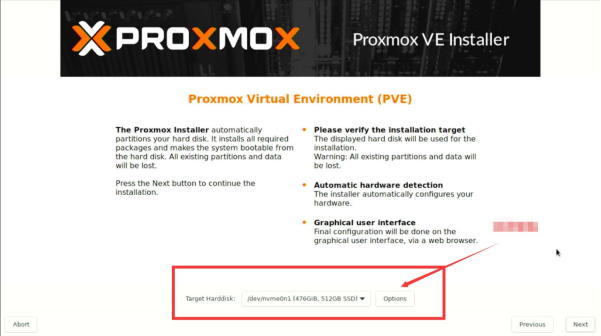
9. Choose the target drive for PVE. If there is only one drive by default,
click “Next” to go to the next step.
10. You can skip selecting Country and Time Zone. Simply click “Next”.

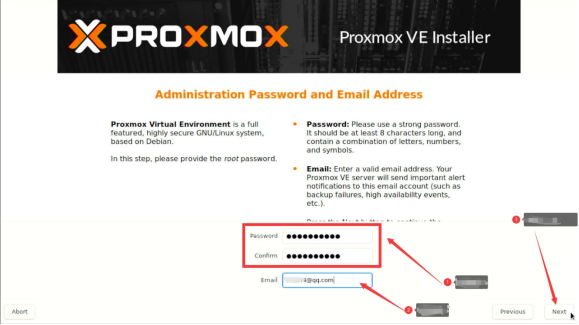
11. Set password and Email. Click “Next”.
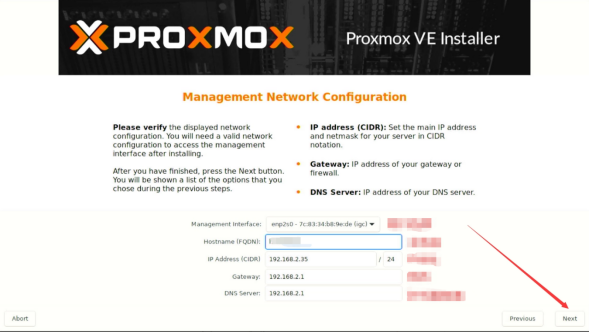
12. Here is the installation setup of PVE system to assign IP, netmask and gateway. Click “Next” after finished. Management Interface: The interface selection is for host machines or computers with multiple Ethernet jacks. Choose the one you need. Hostname: You can fill in your real domain name, which can be accessed remotely later. If not, keep the default parameter. IP Address: This is the IP address for you to access the PVE control panel. The IP address you input here must be within the DHCP scheme of your router, as it’s the only way to make PVE accessible by PCs on the same LAN.
Gateway: Fill in the IP address of your gateway or firewall.
DNS Server: Fill in the IP address of your DNS server..
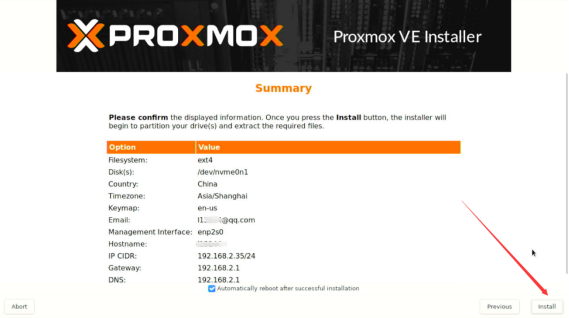
13. Confirm the displayed information and click “Install”.
14. The PC will reboot itself after the installation is complete. Please unplug the USB drive when the PC is rebooting.
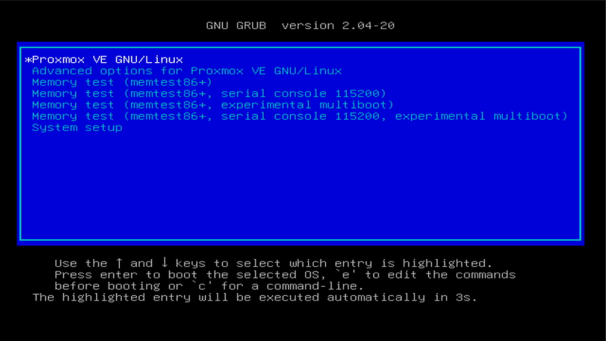
15. After PC boots up, An IP address will appear on the screen. Type this URL into your browser from another computer on the same LAN and then you can access the PVE control panel.
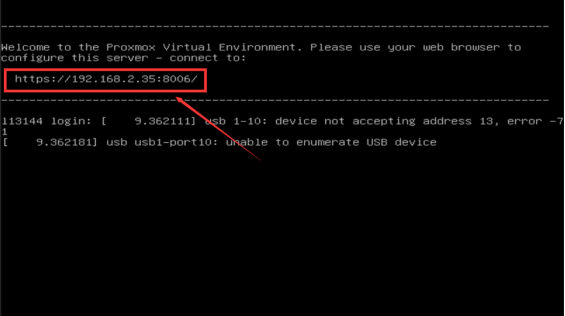
16.The browser may prompt a privacy error. Ignore it and continue to visit.
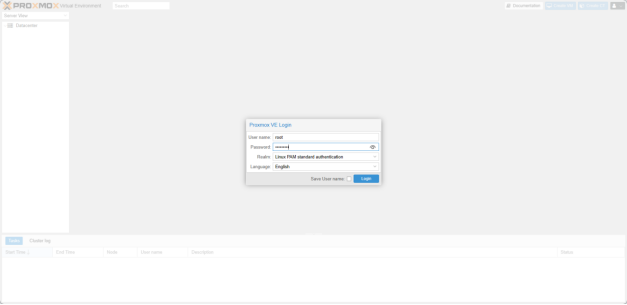
17.User name: root
Password: Fill in the password you set during the system installation.
Language: Choose the language you desire.
Log in.
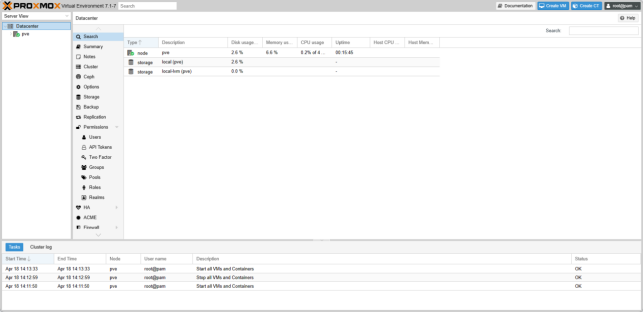
18.Now you have entered the PVE system management interface. PVE System was installed successfully!
We hope this article helps. Please contact us if you encounter problems when installing PVE on the EQ12. Thanks for your support.